How to Turn a Photo Into a Pop Art Cartoon Drawing
Pop fine art, short for "popular art," emerged in the mid-to-late-1950s as a motion influenced by American popular culture. It transforms portraits and everyday objects into colorful collages, comic volume elements, duotone silhouettes, and oft a mix of all of the to a higher place. Of all the artists to emerge from the movement, Andy Warhol's silkscreen mode is the most recognizable. Hearing his proper name oftentimes evokes iconic works such equally the colorful portrait of Grandarilyn Monroe, or the set of Cambell'south soup can prints.
Warhol may have spent countless hours creating his pop fine art, but with BeFunky's Pop Art filters – found inside the Photograph to Fine art tab – you can transform your favorite photos into something eye-catching in just a few clicks! You can also use our enhanced Popular Art DLX effect – a part of our collection of Deluxe effects – to capture the signature wait.
How to Plough Photos Into Pop Fine art With BeFunky
To start creating your very own pop art, click here to head to the Photo Effects tab of the Photograph Editor.
Step ane: Upload a Photo
Upload an image using the Open dropdown carte at the top of the page. Or, but elevate and drop an prototype right into the interface.
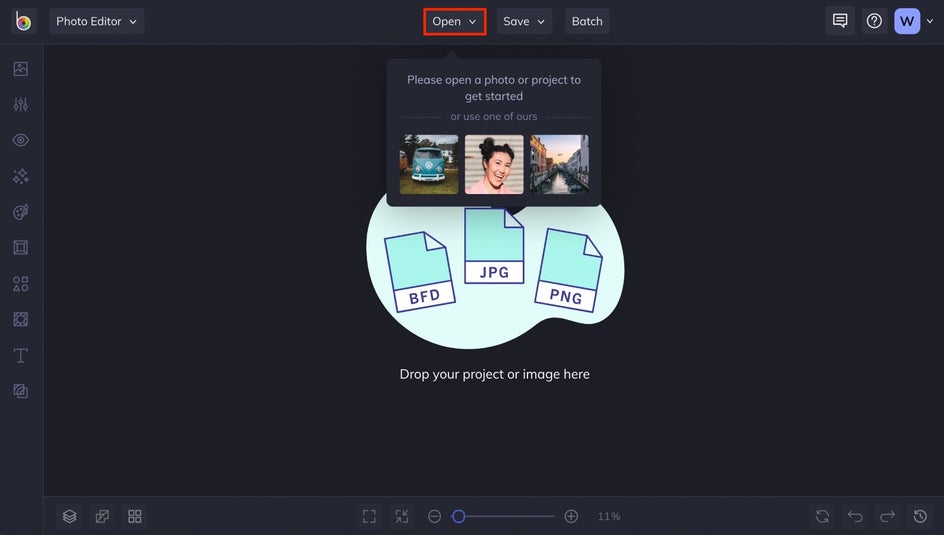
You tin also upload a photo from your BeFunky account, Facebook, and more from the same dropdown.
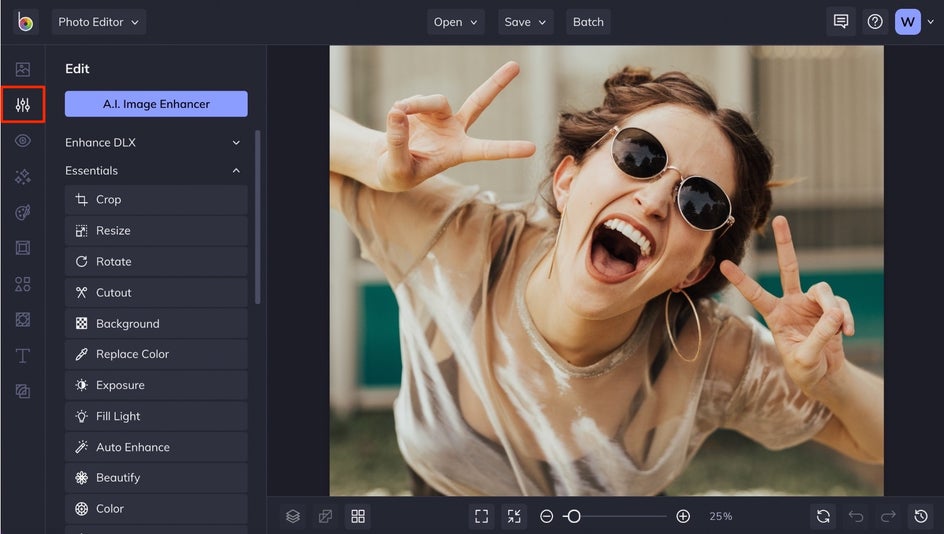
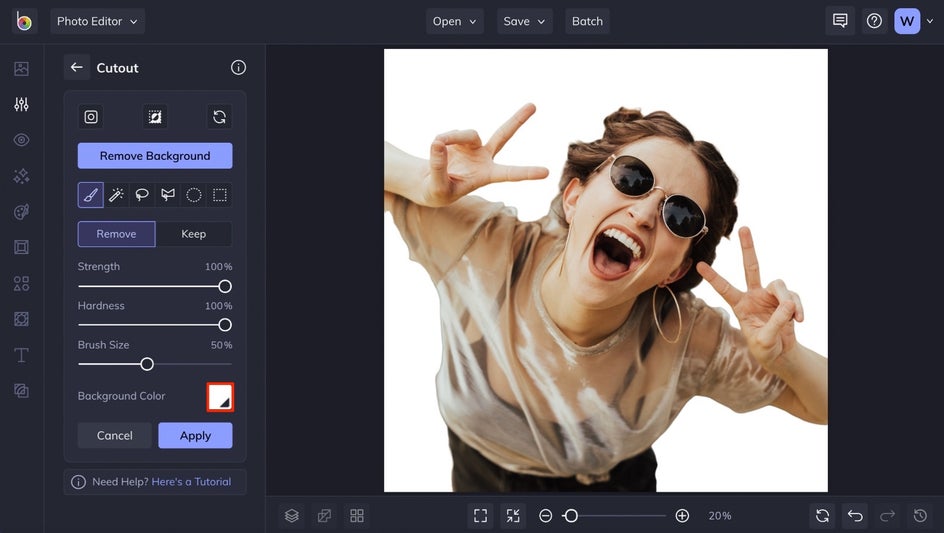
Pace 2: Crop and Remove Background Distractions
Pop art looks best when the bailiwick is the main focus and there's nothing in the background to distract. If your image has a busy background, BeFunky has a few dissimilar tools in the Edit tab to help yous gear up the photograph before adding a filter.
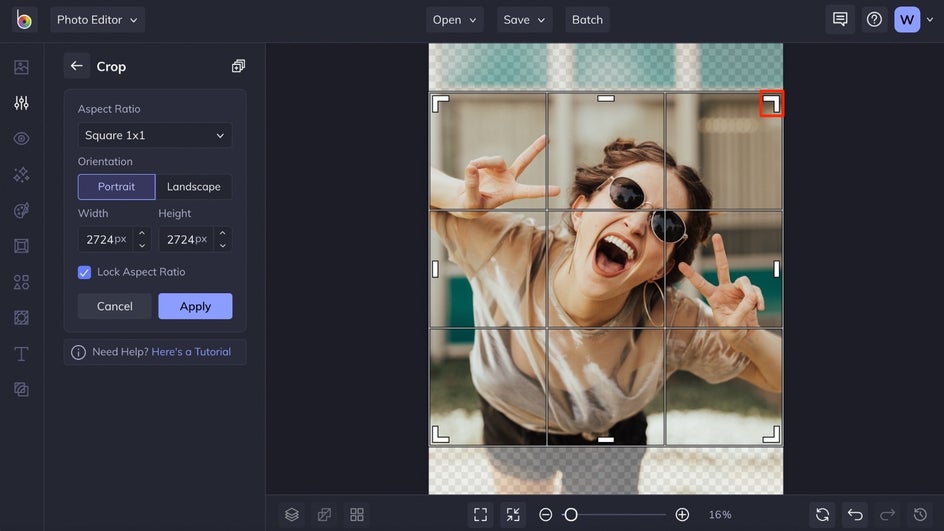
First, utilize the Ingather tool to ingather most of the background out of the photograph. You can choose whichever orientation you wish, just a 1x1 square is all-time if you wish to copy the repeating tile look.
Side by side, if y'all need to replace a busy groundwork with a solid colour, click on the Cutout tool. The Remove Background button will detect the subject field in your prototype and remove the background around it.
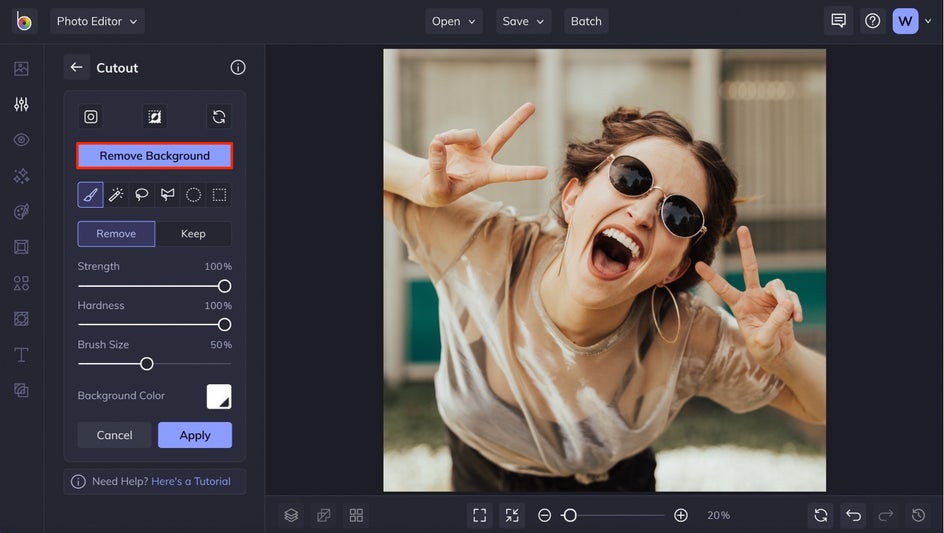
Click the button to erase the background effectually your bailiwick (you lot can also use the available brushes for more than personalized editing) and and then choose a new Background Colour. We recommend choosing a white background if yous wish to use an consequence with lots of color.
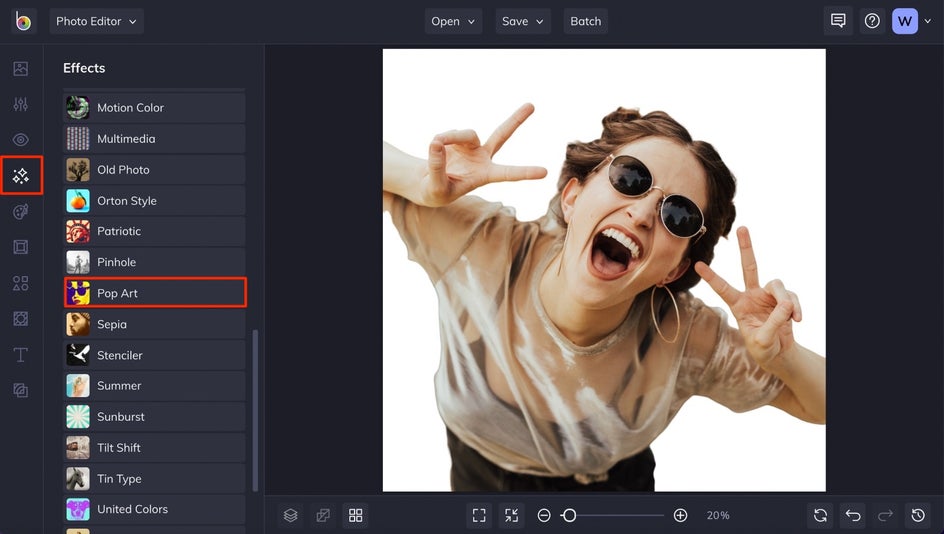
Step three: Choose a Pop Fine art Effect
Click on the Effects tab in the left sidebar menu and cull the Popular Art category.
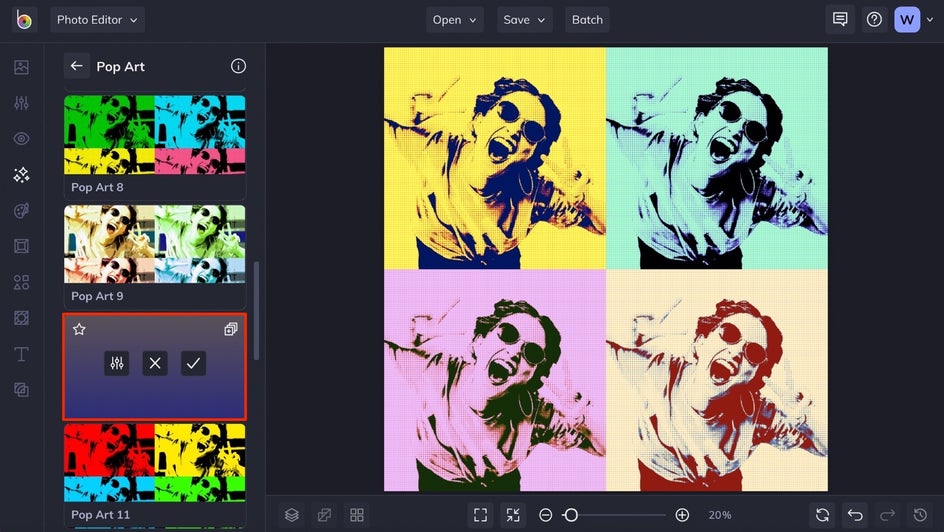
You'll be able to preview each Pop Art filter on your epitome by clicking on the thumbnails. Once yous've institute the perfect i, you can choose to further customize it in the adjacent step, or click the Utilize button correct abroad.
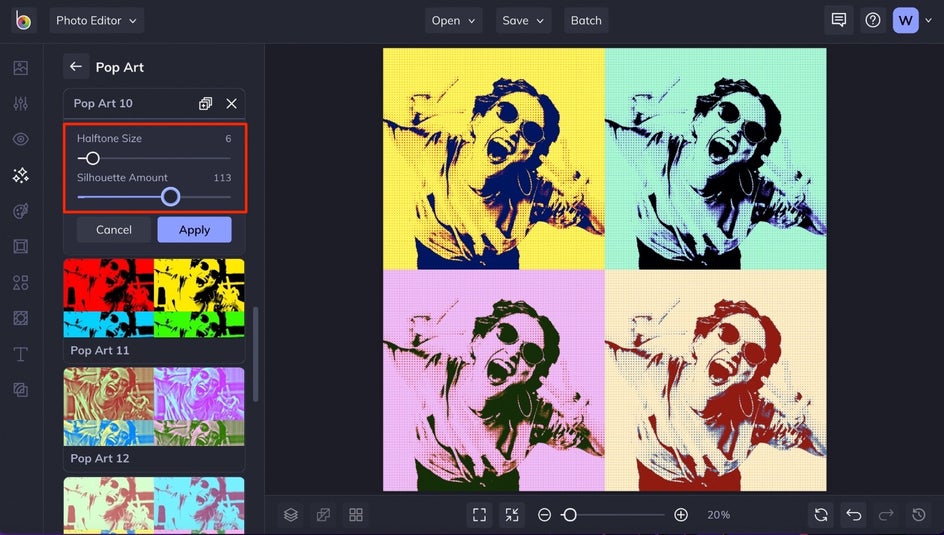
Step iv: Customize the Pop Art Effect
By clicking the Settings icon on an consequence'due south thumbnail, y'all tin can further customize the look.Each Settings menu may include different sliders, so exist sure to check out those options as y'all preview each one on your image.
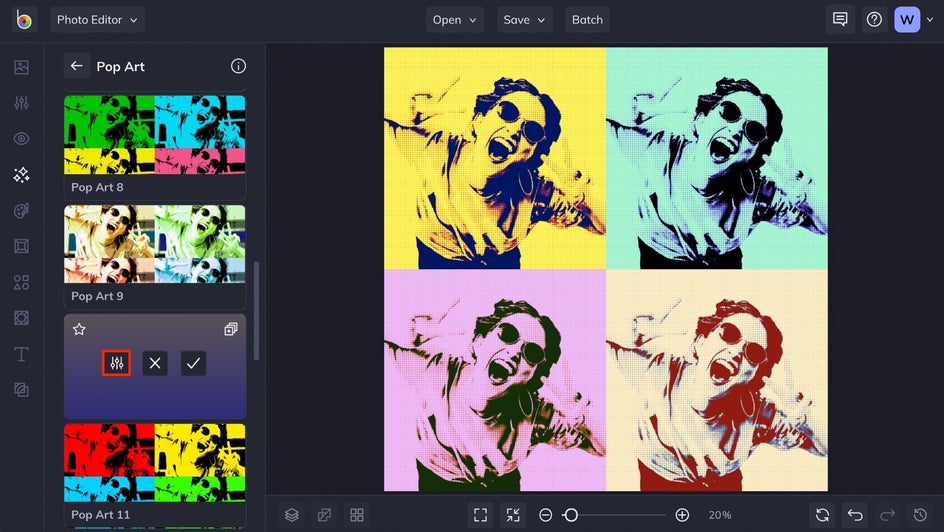
For instance, the sliders in the Pop Art ten menu are Halftone Size and Silhouette Amount. You can conform these past moving the sliders to the correct (to increase) or the left (to decrease).
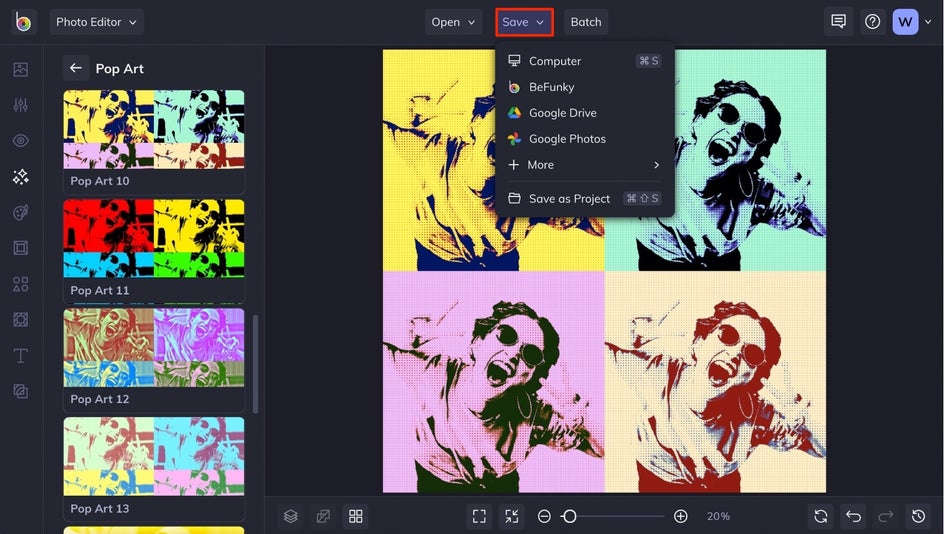
Pace 5: Save Your Popular Fine art
Once you're happy with your photo's new look, click the Salvage button at the top of the Photo Editor and choose your desired location.
Final Outcome
And just like that, you lot've created your very own pop art masterpiece – without always having to take a silkscreen form.
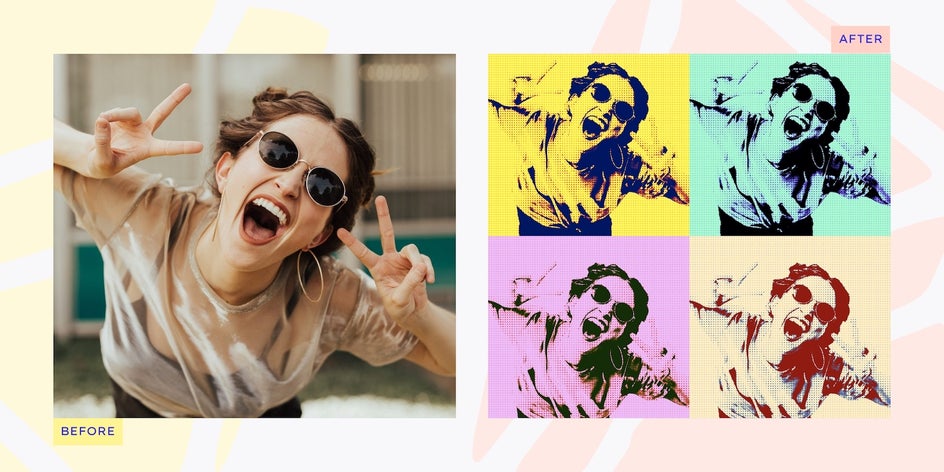
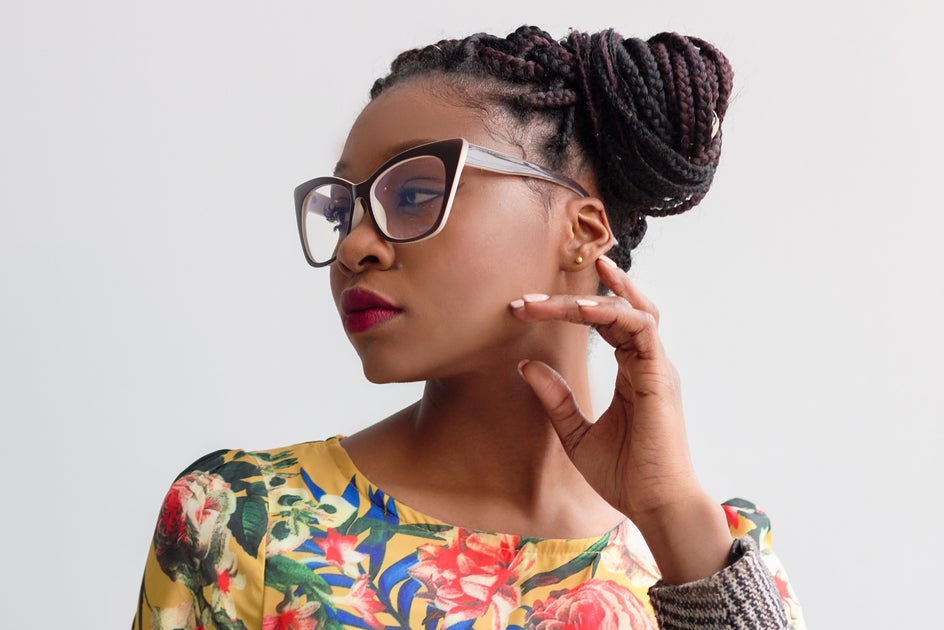
Photo to Pop Art Inspiration
BeFunky's Pop Art filter collection has a little something for anybody. Although Andy Warhol is best known for popular art consisting of multi-colored squares, he experimented with a multifariousness of other compositions. Here are some of our favorite looks to create:
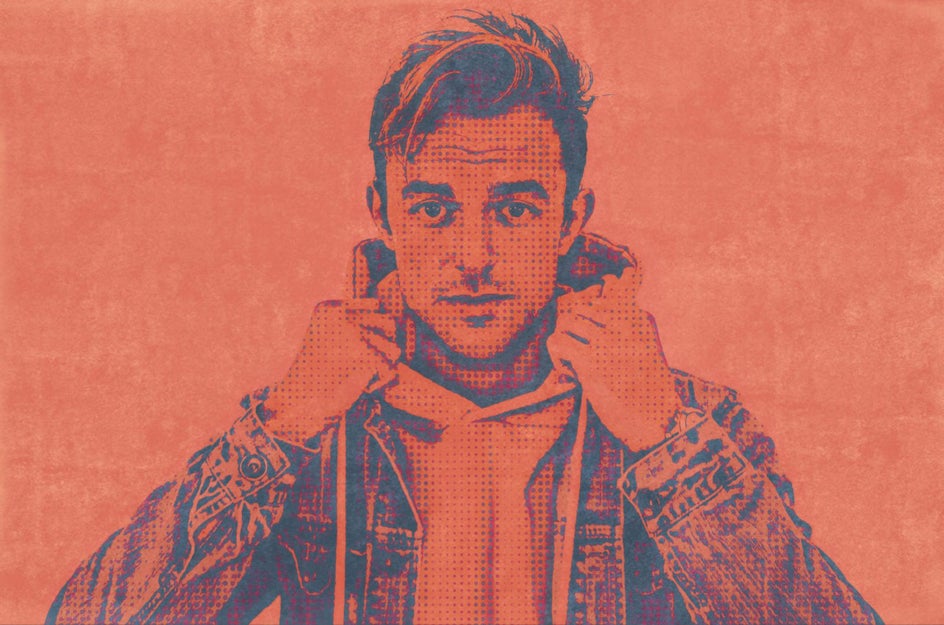
Move Pop Art
Desire to upwardly the wow factor with your pop art creation? The Pop Art 5 filter is the perfect combination of a Holga upshot and pop art, complete with halftones and colorful silhouettes to make it look like your subject is in move.
Dreamy Duotones
Sometimes sticking to a duotone color palette is just the manner to get. Instead of spending a ton of time editing your photo down to 2 colors, the Pop Art 6 filter instantly transforms your photograph into a duotone silhouette.
If you lot want to switch up the color palette, you can even use the Replace Color tool to supersede the Popular Art 6 filter with new hues of your choice.
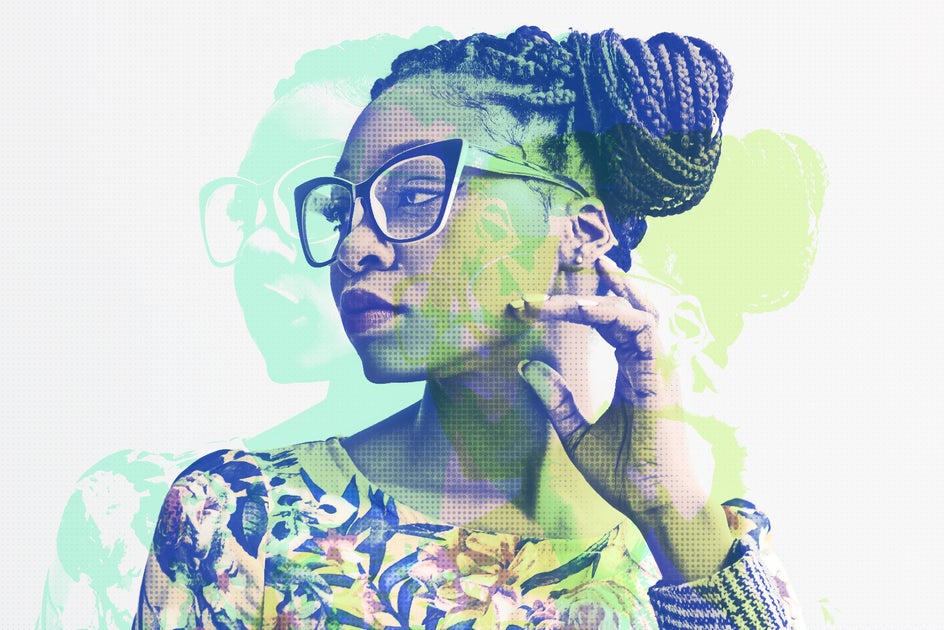
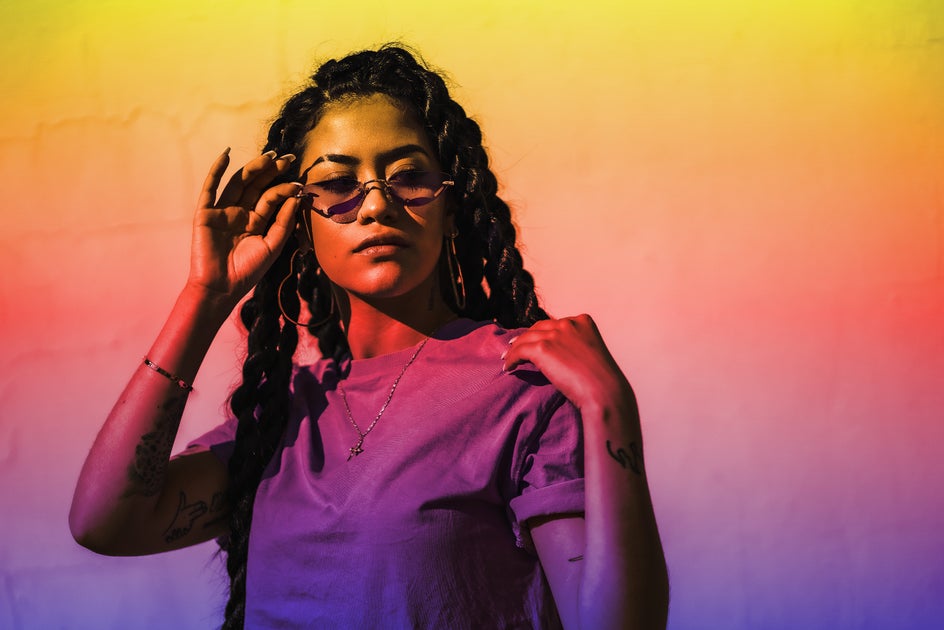
Rainbow Filter Magic
Everything looks more magical with a rainbow filter on it! BeFunky's Pop Art filter collection includes a handful of colorful rainbow filters to add together to your photos. Just wait at how Pop Art 18 makes this portrait shine.
Create Your Ain Pop Art!
Fix to get started with these amazing Pop Art effects by BeFunky? Head to the Photo Editor and get creative with your photos today!
Photo Editing, Simplified.
Source: https://www.befunky.com/learn/pop-art-effects/
0 Response to "How to Turn a Photo Into a Pop Art Cartoon Drawing"
Post a Comment